Integrating ServiceNow with Power Automate via REST API
In this article, we’ll explore the integration process of ServiceNow with Power Automate using the REST API and OAuth 2.0 Resource Owner Password Credentials, accompanied by an illustrative example — retrieving Service Request details from ServiceNow using Power Automate.
Power Automate includes a built-in ServiceNow connector. In this blog post, we’ll explore an alternative method for establishing a connection with ServiceNow.
Prerequisites:
- ServiceNow Instance: Access to a ServiceNow instance with the necessary permissions to create and manage API integrations.
- Power Automate Account: A Microsoft Power Automate account to create and manage automated workflows.
Step 1: Register OAuth Application in ServiceNow
- Start by logging into your ServiceNow instance.
- Search for “Application Registry” and select the corresponding option.
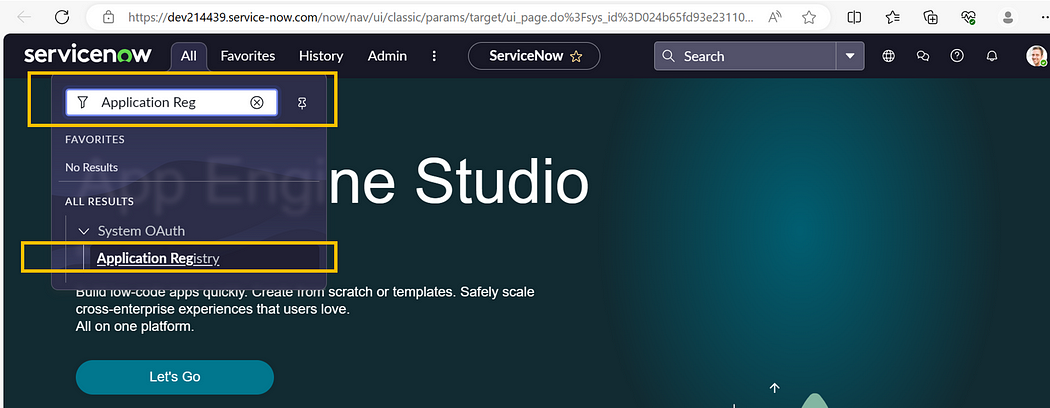
3. Click on “New”

4. Select “Create an OAuth API endpoint for external clients.”

5. Name your application (e.g., PowerAutomateApp) and leave the other fields as default. Afterward, right-click on the pane and select “Save.”
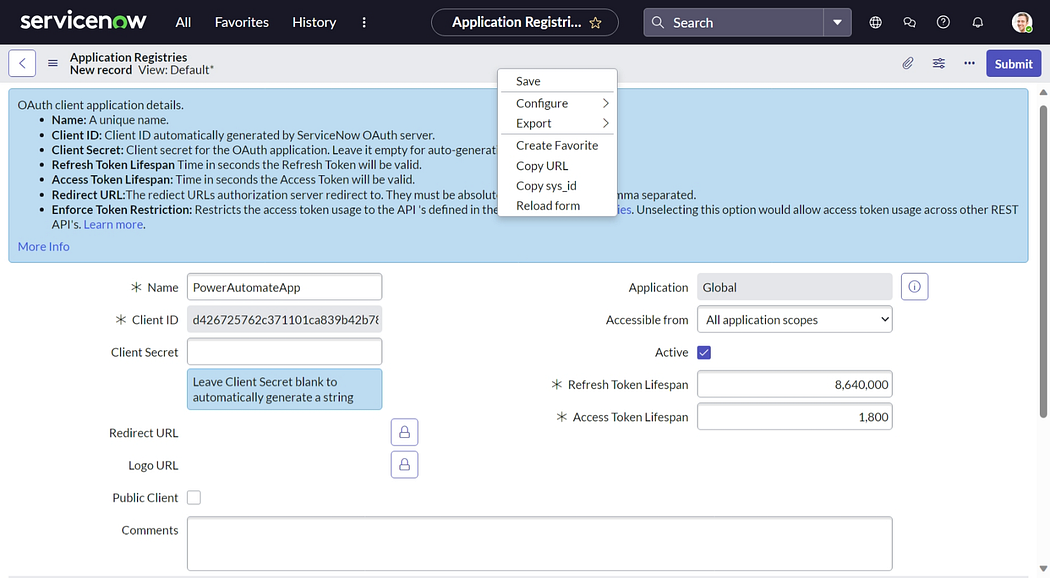
6. Take note of the Client ID and Secret; you’ll need them during the Power Automate setup.
Step 2: Create User in ServiceNow
- Locate “Users” and choose the “Users” option under the Organization section.
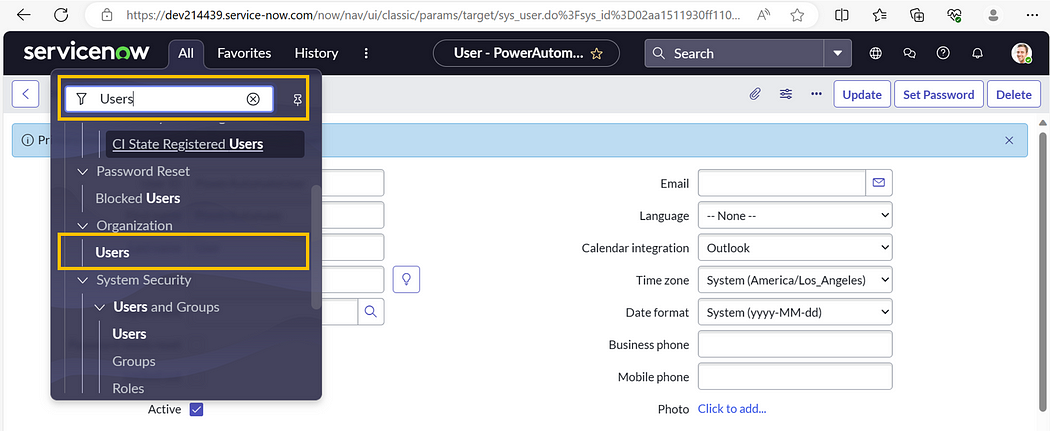
2. Click on New

3. Create a new user, e.g., “PowerAutomateUser,” and save user details
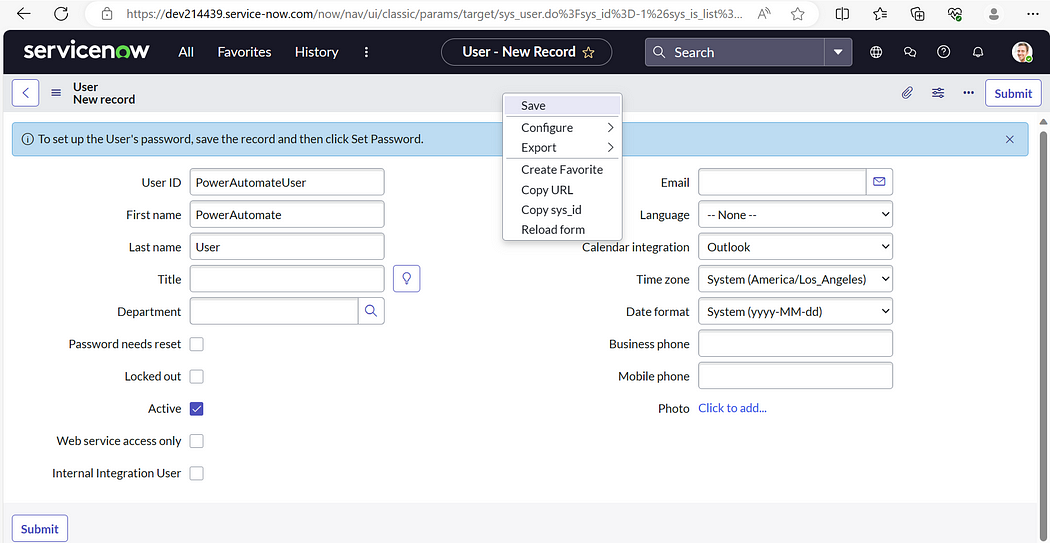
3. Click on ‘set password’
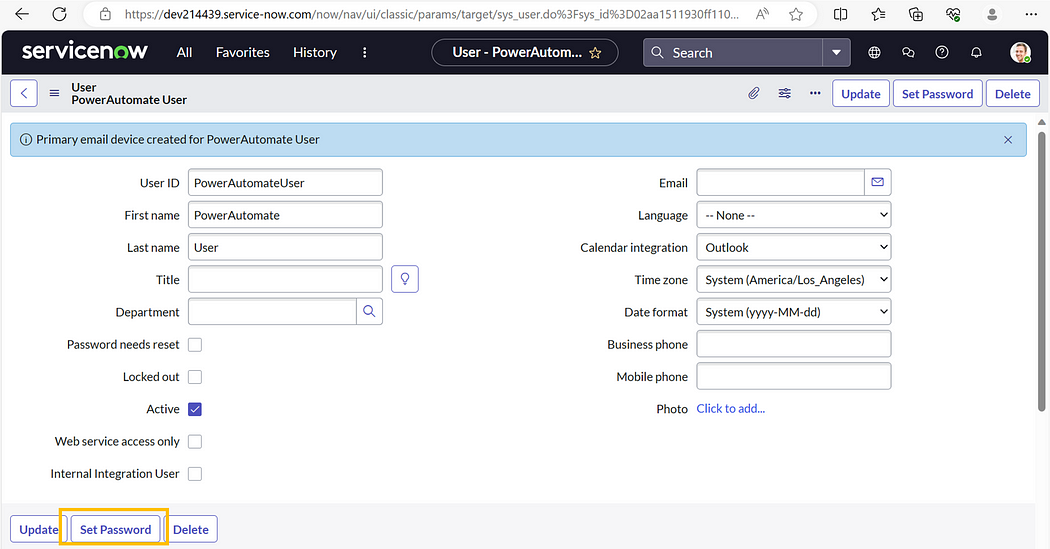
4. Click on Generate

5. Click on ‘Save password.’ Make sure to note down this password; it will be used when configuring Power Automate.

Step 3: Build Flow in Power Automate
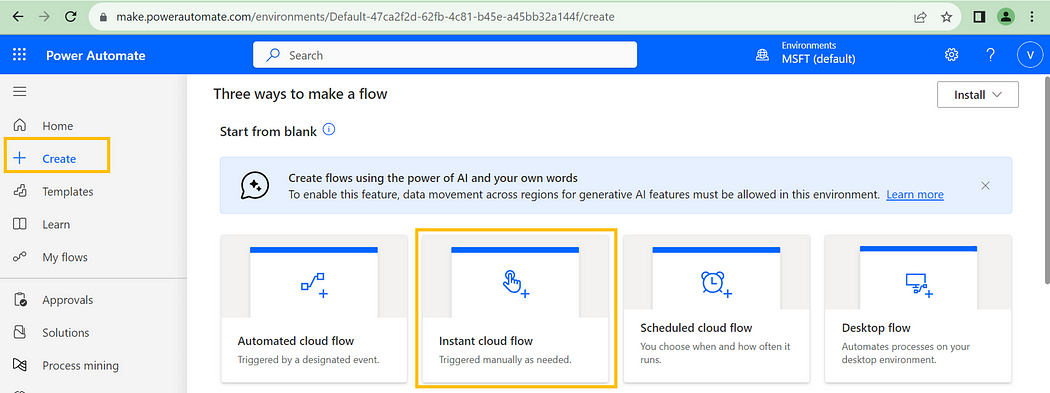
- Click on “Create” and select “Instant cloud flow.”
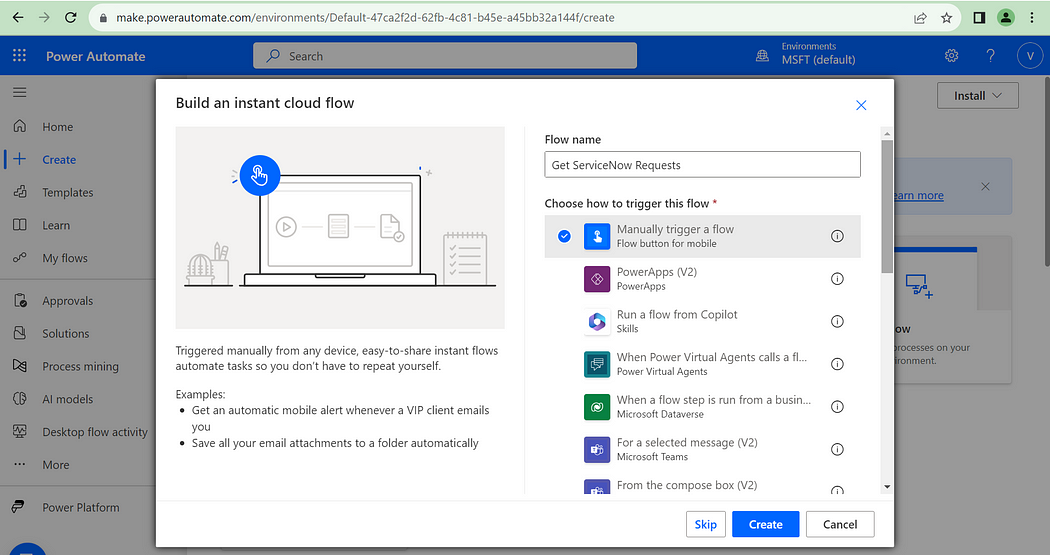
2. Provide a meaningful name for your flow and choose the trigger “Manually trigger a flow” and click create
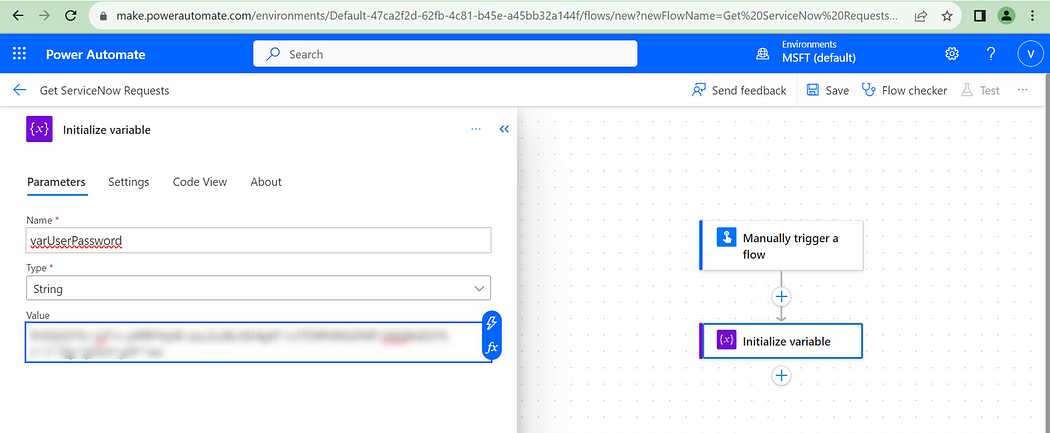
3. Add an action to initialize a variable and set values
Name — varUserPassword
Type — String
Value — Provide the user password generated in the previous step. (Note: Storing passwords in variables is not considered a best practice. It is recommended to save sensitive information in a secure vault, such as Azure Key Vault, and retrieve it during runtime.)
4. Add a Compose action and use encodeUriComponent formula to handle special characters in the password
encodeUriComponent(variables(‘varUserPassword’))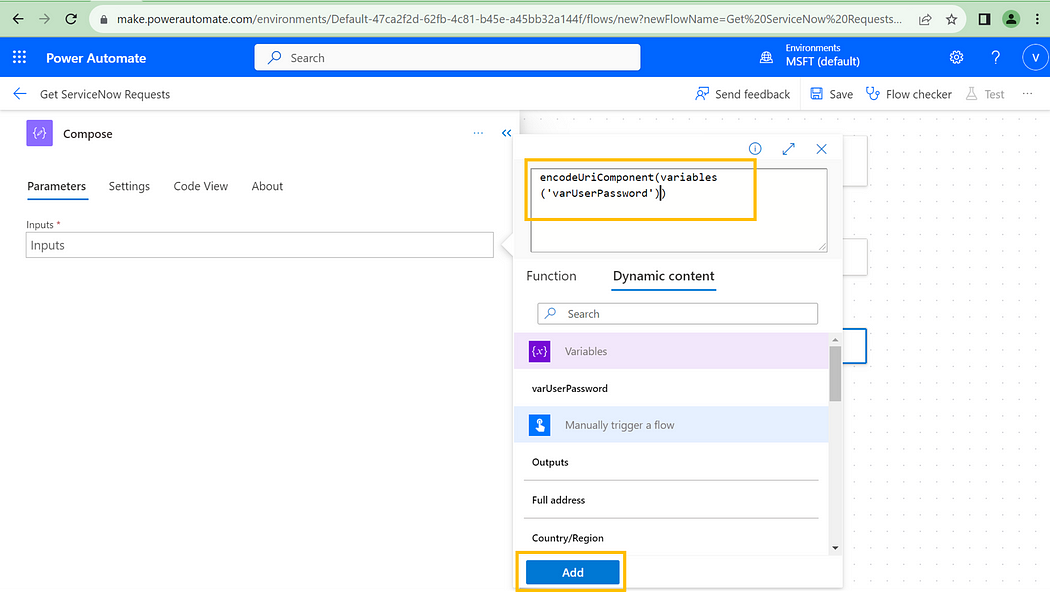
5. Add an HTTP action
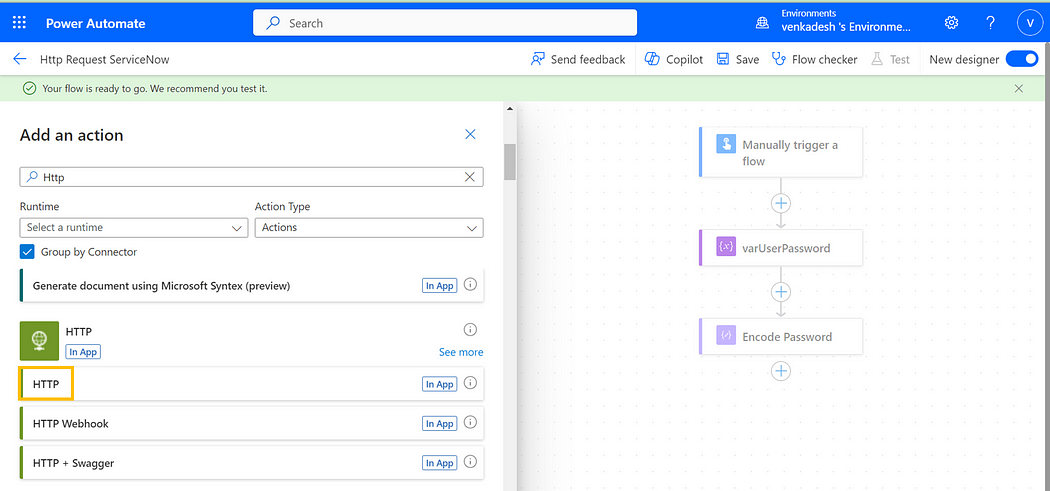
6. Configure the HTTP request with the following details to obtain the access token:
URI: https://<your-instance>.service-now.com/oauth_token.do
Method: POST
Content-Type: application/x-www-form-urlencoded
Body :grant_type=password&client_id=<your_client_Id>&client_secret=<your_client_secret>&username=<your-username>&password=@{outputs('Encode_Password')}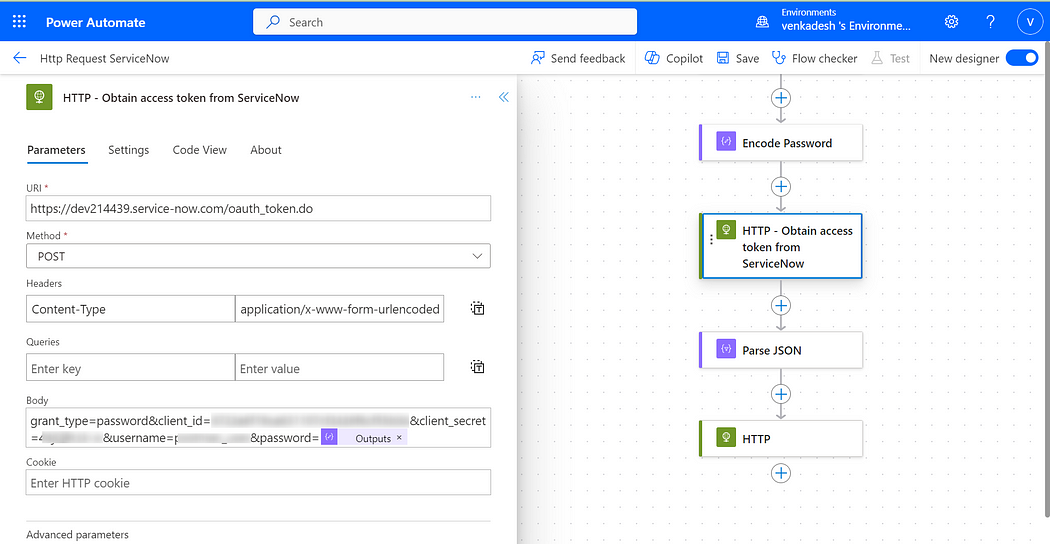
7. Add the ‘Parse JSON’ action and provide the necessary details
Content : body(‘HTTP_-_Obtain_access_token_from_ServiceNow’)
Schema:
{
    "type": "object",
    "properties": {
        "access_token": {
            "type": "string"
        },
        "refresh_token": {
            "type": "string"
        },
        "scope": {
            "type": "string"
        },
        "token_type": {
            "type": "string"
        },
        "expires_in": {
            "type": "integer"
        }
    }
}
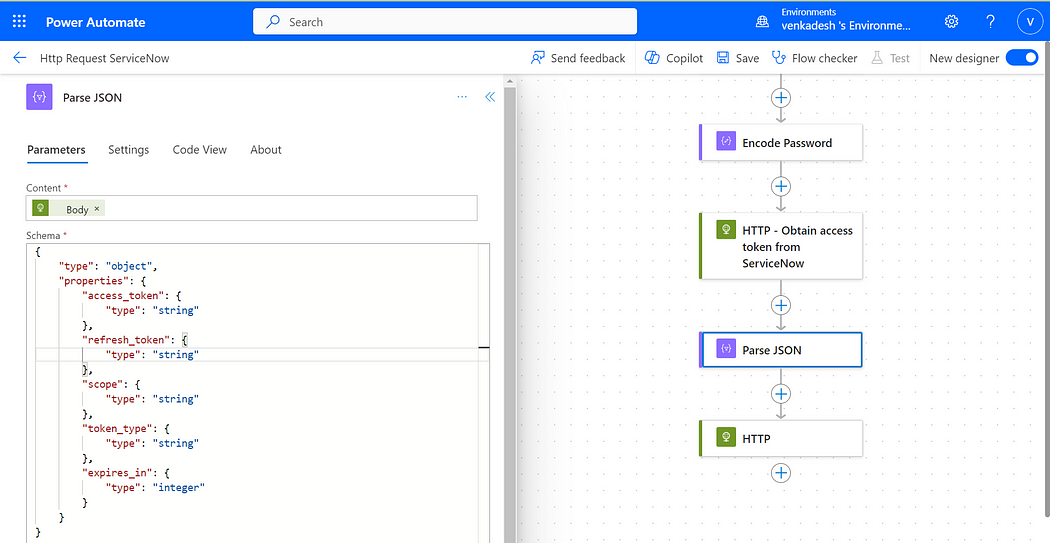
8. Add another HTTP action to call a ServiceNow endpoint. As an illustrative example, let’s fetch details of a Service Request.
URI: https://<your-instance>.service-now.com/api/now/table/sc_req_item?sysparm_query=number%3DRITM0010004&sysparm_limit=1
Method: GET
content-type: application/json
authorization": Bearer @{body('Parse_JSON')?['access_token']}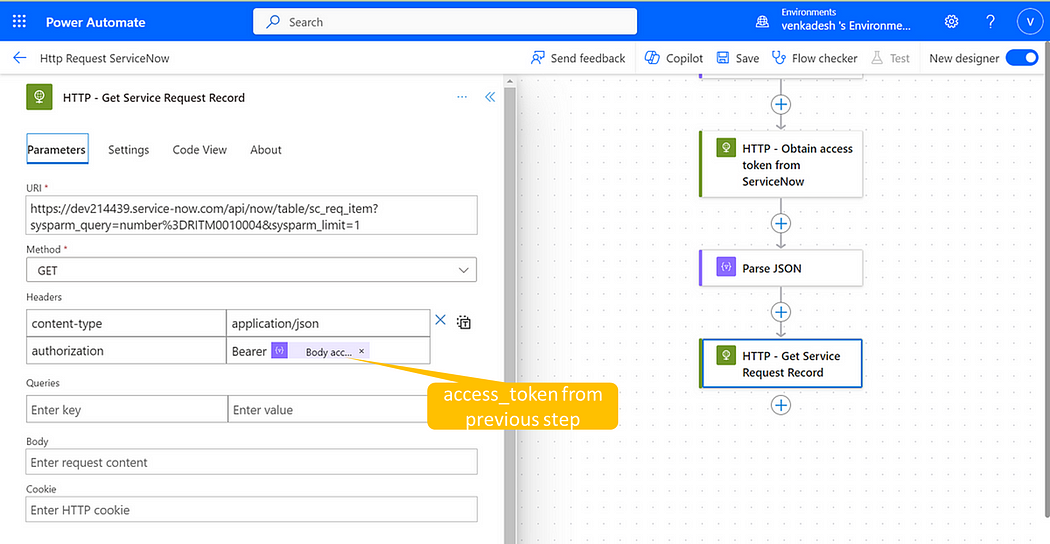
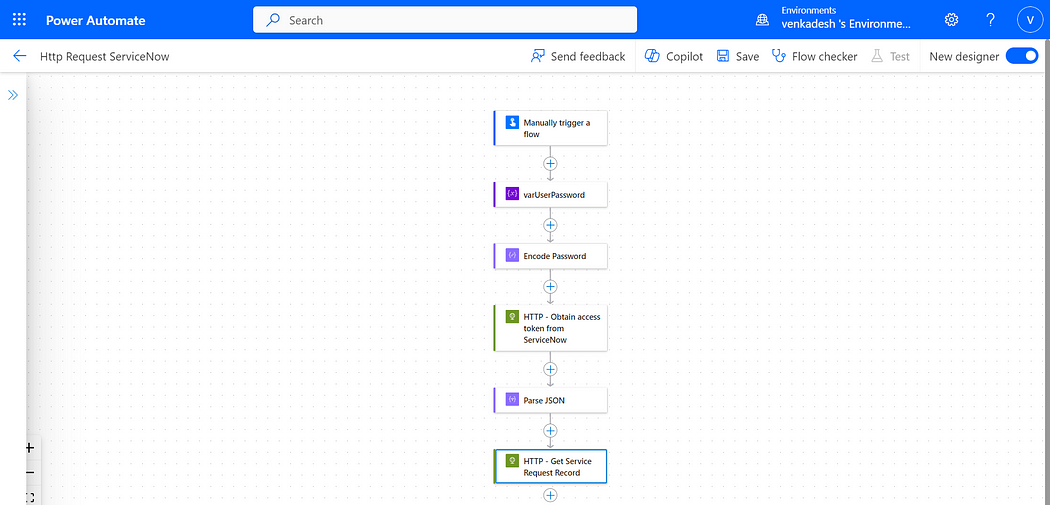
After completing all the configurations, the Flow appears as follows:
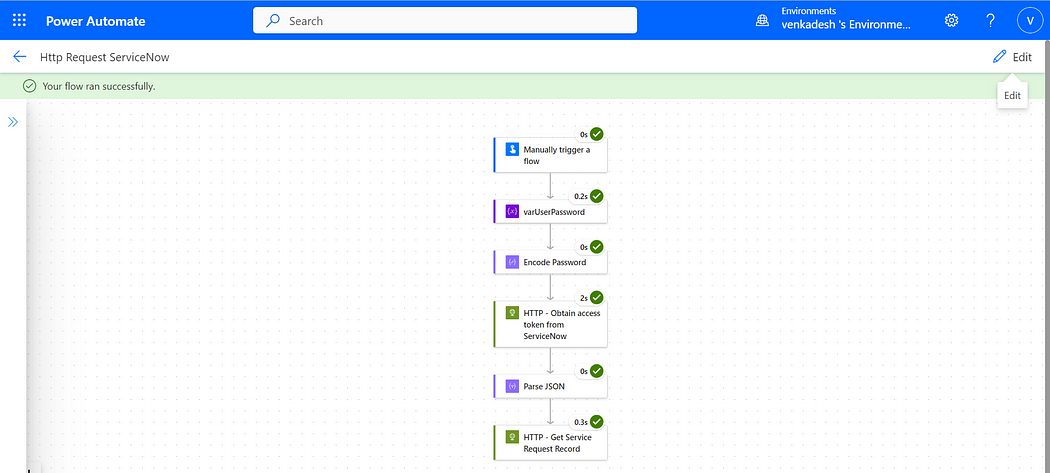
That’s all. Run the test and check.
Conclusion:
Integrating ServiceNow, a leading IT service management (ITSM) platform, with Power Automate, unlocks numerous automation possibilities. Explore various use cases to unlock the full potential of this integration. Happy integrating!
Comments
Post a Comment