How to Upload Files from Microsoft Forms and Save them in a SharePoint Library
We will walkthrough the process of uploading files from Microsoft Forms and saving them directly to a SharePoint document library. By integrating these two powerful tools, we can streamline file management and data collection workflows. Let’s get started!
Prerequisites: Before we begin, make sure you have completed the following preparations:
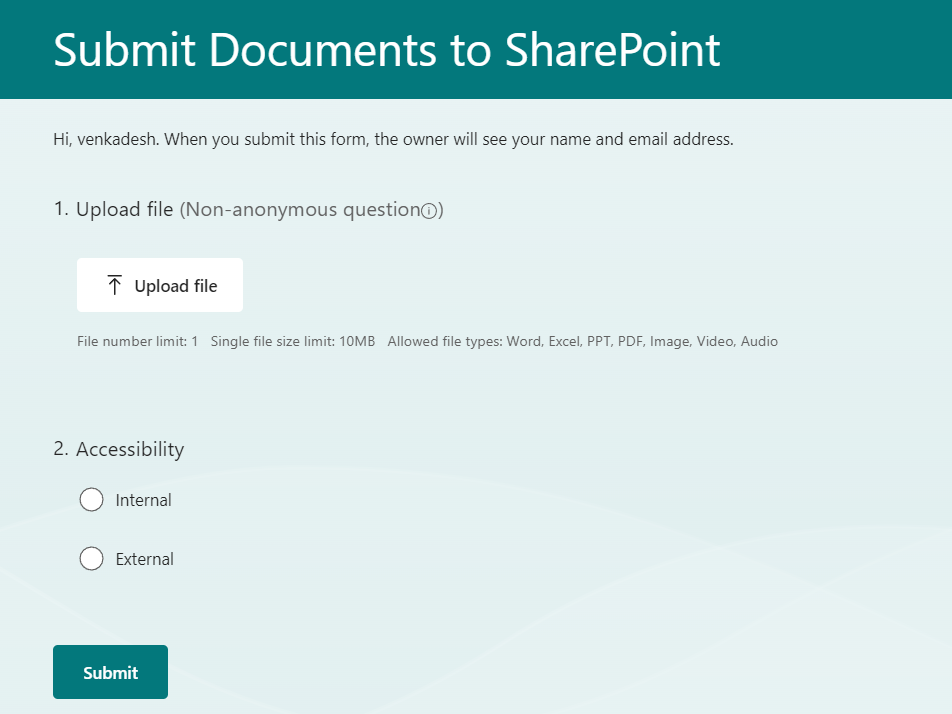
- Create a Microsoft Form with an upload field to collect files from users.
- Set up a SharePoint document library where you want to save the uploaded files.
- Create a Power Automate flow to facilitate the integration between Microsoft Forms and SharePoint.
Step 1: Create a Microsoft Form
- Upload File (upload)
- Accessibility (choice)
Step 2: Set up a SharePoint Library
- Name (Built in Column)
- Accessibility (Single line of text)

Step 3: Build the Power Automate Flow
Create a new Automated cloud flow
Choose trigger “When a new response is submitted” from the Microsoft Forms connector
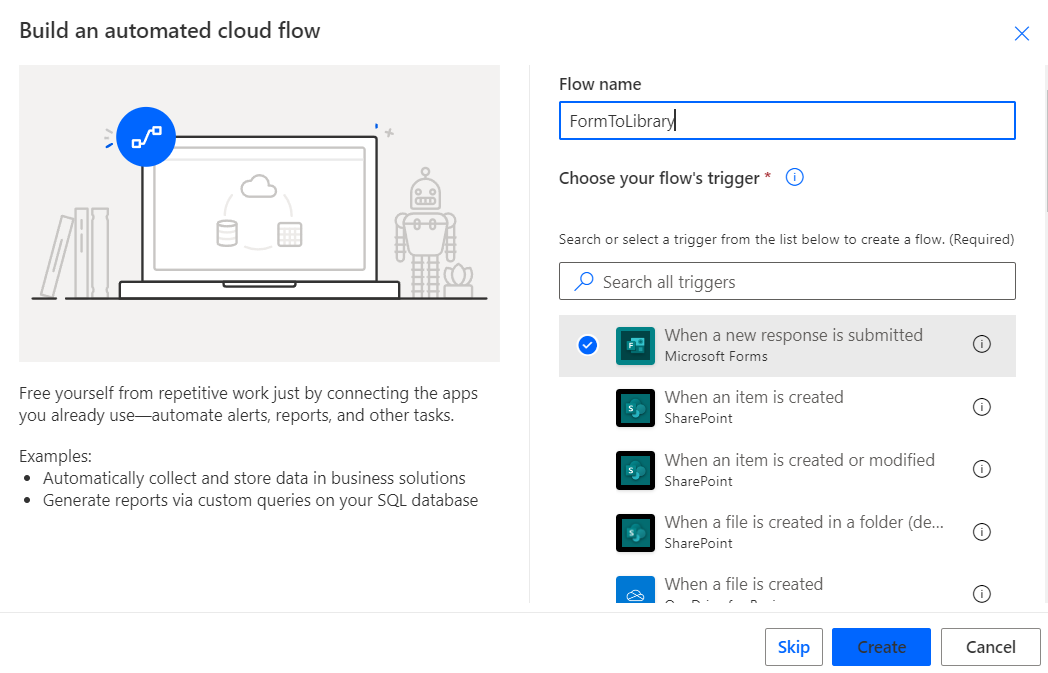
Select the Title of the Form from the dropdown list

Add “Get Response Details” action and fill details
- Form Id — Select the Title of desired form
- Response Id — Output from Trigger

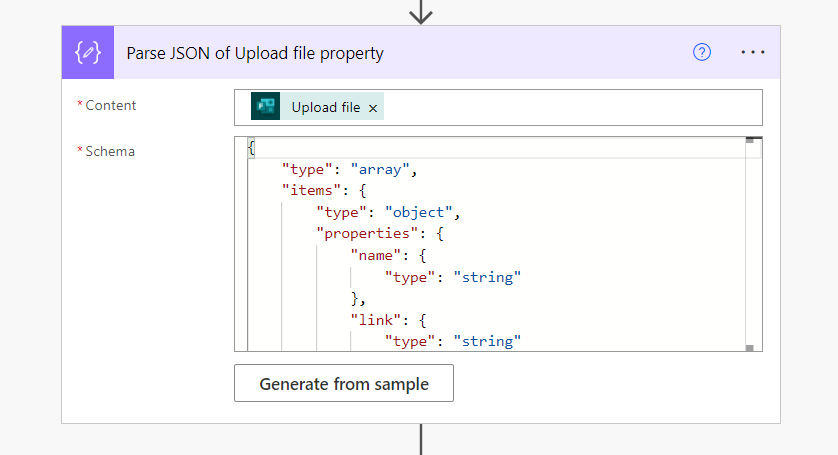
Add “Parse JSON” action and fill details
- Content — Select Upload file property from “Get response details”
- Schema — Can be generated by running the flow with above mentioned steps and capture the output of property “Upload file”
 {
    "type": "array",
    "items": {
        "type": "object",
        "properties": {
            "name": {
                "type": "string"
            },
            "link": {
                "type": "string"
            },
            "id": {
                "type": "string"
            },
            "type": {},
            "size": {
                "type": "integer"
            },
            "referenceId": {
                "type": "string"
            },
            "driveId": {
                "type": "string"
            },
            "status": {
                "type": "integer"
            },
            "uploadSessionUrl": {}
        },
        "required": [
            "name",
            "link",
            "id",
            "type",
            "size",
            "referenceId",
            "driveId",
            "status",
            "uploadSessionUrl"
        ]
    }
}
Compose Filename
body('Parse_JSON_of_Upload_file_property')[0]['name']
Compose File ID
body('Parse_JSON_of_Upload_file_property')[0]['id']
Retrieve File Content
outputs('Compose_File_Id')
Create File
- File Name
outputs('Compose_Filename')- File Content — Select the File Content property
body('Get_file_content')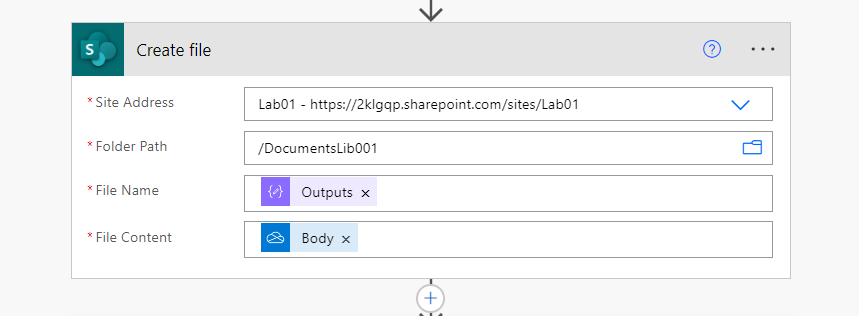
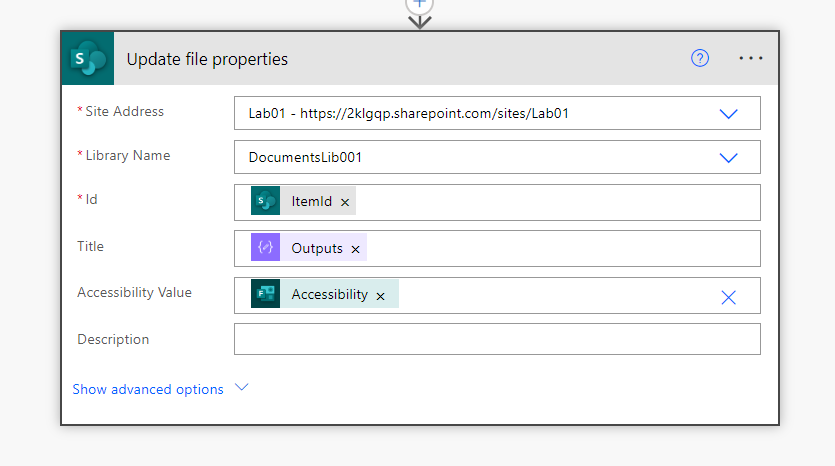
Update file properties
Verify flow : Flow look like this after adding all actions
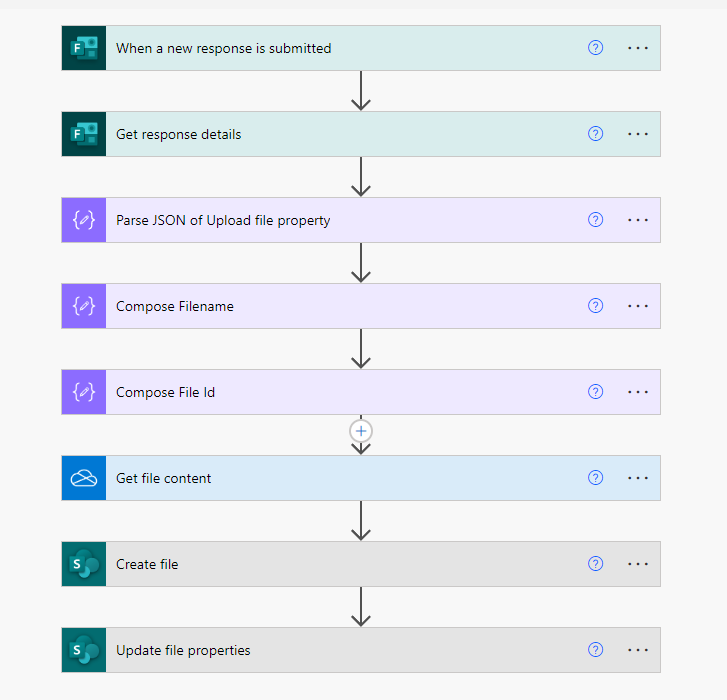
Step 4: Save and Test the Flow
- Save the Power Automate flow and give it an appropriate name.
- Test the flow by submitting a response through the Microsoft Form with a file attachment.
- Verify that the file is successfully uploaded to the specified SharePoint document library.
Summary:
You have learned how to upload files from Microsoft Forms and save them directly to a SharePoint document library using Power Automate. By leveraging the integration capabilities of these tools, you can automate file management processes and enhance collaboration within your organization.
Comments
Post a Comment